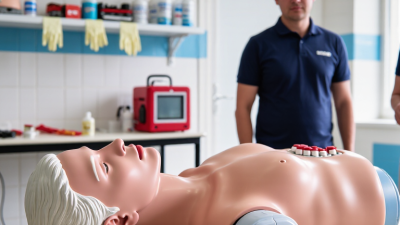
Choosing the right Dummy For Cpr can make practice feel more realistic and easier to assess. CPR mannequins range from simple adult torsos to infant models and feedback-enabled systems. Each type serves different training needs. A basic adult torso lets learners practice hand placement, compression depth, and rhythm without extra features. Infant mannequins help instructors demonstrate gentler techniques and smaller-body positioning. Small details matter. A stable base, clear landmarks, and a responsive chest can make repeated drills less confusing.
Feedback-enabled mannequins add lights, indicators, or connected displays that show whether compressions meet the selected training targets. These tools can help learners notice shallow compressions or an uneven pace. Still, a score cannot replace attentive instruction or careful technique. Some classes need portable, durable models that are easy to clean between sessions; others benefit from models that support different ages or airway practice. The best choice depends on who is learning, what skills the course covers, and how often the equipment will be used. Practice can feel awkward at first. That is normal, and it is worth reviewing what the mannequin can—and cannot—teach. This guide compares common CPR dummy types, their practical strengths, and the features trainers may want to check before choosing one.
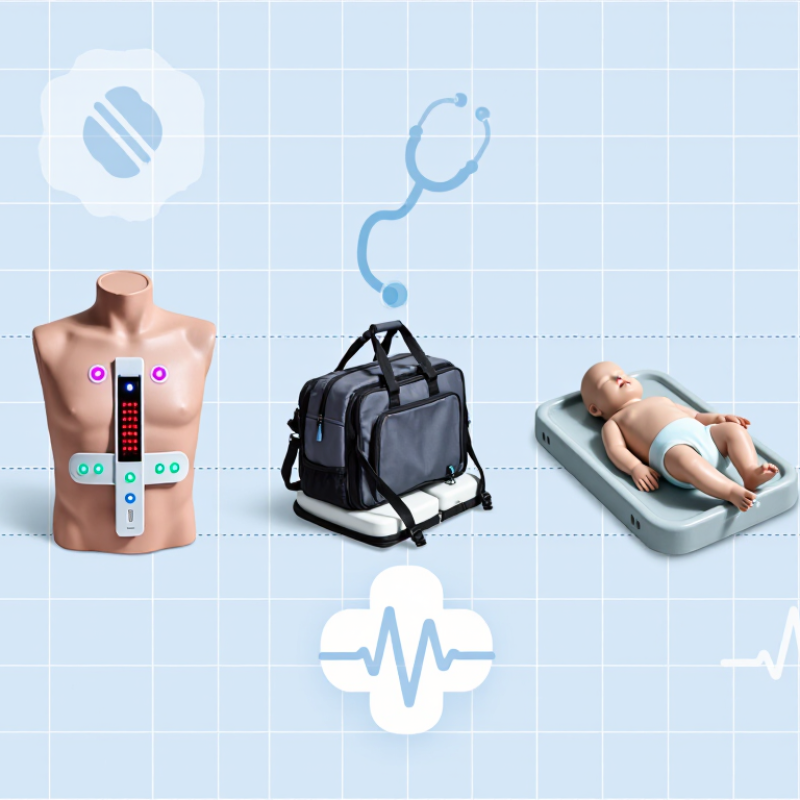
A CPR training manikin is a life-sized or partial-body model used to rehearse cardiopulmonary resuscitation. It lets learners practice chest compressions, rescue breaths, and hand placement without putting a person at risk. Adult, child, and infant models reflect different body sizes and training needs. Some provide visible chest rise or indicators for compression depth and rate. Not a real patient.
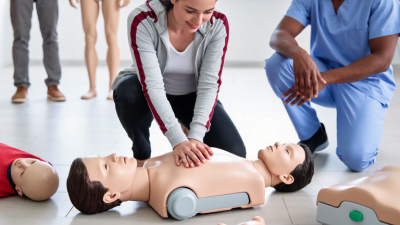
During a session, learners kneel beside the manikin and follow an instructor’s demonstration. They place their hands on the chest, press straight down, and allow the chest to rise fully between compressions. For adult practice, instructors commonly teach a rate of 100 to 120 compressions per minute. Feedback lights or clicks can help, but they do not replace coaching. When breaths are included, a face shield or replaceable airway can support hygienic practice. That detail matters.
Some manikins connect to training software or pair with an AED trainer, letting learners rehearse a sequence of actions. After each turn, an instructor can correct hand position, rhythm, or incomplete recoil. Still, practice can feel oddly tidy: real emergencies involve stress, noise, and bodies that may not match the model. Learners should treat feedback as guidance, not proof of readiness. Regular refreshers and supervised practice help skills transfer beyond the classroom.
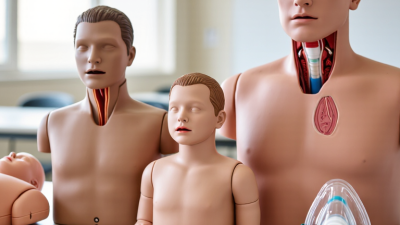
CPR dummies are commonly grouped by the learner’s training level, though labels can vary between course providers. Basic models suit first-time learners practicing hand placement, compression rhythm, and chest depth. Their firm chest and simple torso shape keep attention on core actions. Keep it simple. Some models provide a click or light when compressions reach a target depth, but these cues do not replace instructor feedback.
Intermediate learners may use adult, child, and infant manikins to practice adjusting hand position and compression technique. A small infant model feels very different from an adult torso, so switching between them makes size-specific practice more concrete. Some training sets include face masks or parts for ventilation practice. Check that each feature matches the course being taught; extra equipment is not automatically useful.
Advanced-level dummies may offer electronic feedback, measurable compression data, or scenario-based practice. Instructors can review rate, depth, and recoil after a session, rather than relying only on what learners think they did. These tools can support skill refinement, but their displays may distract beginners. The labels are not perfectly consistent, either. Choose by learner experience, course goals, and the feedback needed, then follow the training program’s guidance for setup and cleaning.
CPR training manikins are commonly grouped by the age and size of the person they represent. Adult models help learners practise hand placement, compression depth, chest recoil, and rescue breaths. Child manikins are smaller, so trainees can adjust their technique and force. Infant models allow practice with gentle compressions and age-appropriate hand positions. Small details matter.
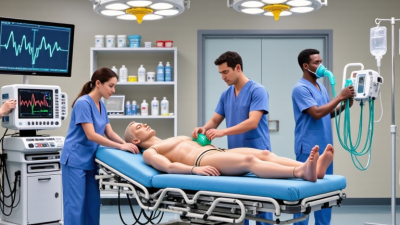
Manikins also differ in shape and feedback. Torso models are compact and useful for classroom drills; full-body models can support practice with positioning and airway management. Basic models provide a realistic surface and visible chest movement, while feedback-enabled versions may display compression rate, depth, or recoil. A screen can help, but it should not replace an instructor’s observation. A glowing score may reassure a learner even when their hand placement needs work.
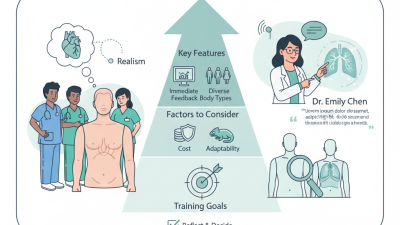
For a course, match the manikin to the learners and the skills being taught. Check that it is stable on the floor, easy to clean, and suitable for repeated practice. Training materials and recommended techniques can vary, so instructors should follow current guidance from a recognized resuscitation organization. I would not choose by features alone; a complicated device can slow a beginner down.
Age-specific manikins help learners practise the correct compression depth for adult, child, and infant CPR.
The chart shows approximate minimum compression depths: about 5 cm for adults, about 5 cm for children, and about 4 cm for infants. For children and infants, compressions should be about one-third of the chest’s front-to-back depth. Adult compressions should be at least 5 cm and avoid exceeding 6 cm. Manikins may also be torso-style or full-body, with some models providing real-time compression feedback.
Adult, child, and infant CPR manikins differ in body size, chest stiffness, and compression targets. Infant models have smaller chests and features for practicing mouth-to-nose ventilation. Child models represent an intermediate size. Adult torso models are compact and useful for compression drills. Full-body models allow more positioning practice but need extra storage. Fit matters.
Feedback manikins use sensors to track compression depth, rate, recoil, or hand placement. Some show results with lights or sounds; others display data on a screen. Immediate feedback can help learners adjust, but scores cannot replace instructor observation. Basic models cost less and need little setup, though learners may miss shallow compressions without coaching. Manikins with visible chest rise help learners practice ventilation. Replaceable face pieces support hygiene between users.
Tips: Match the model to learner age and course goals. Check whether feedback can be turned off during instruction. Clean shared surfaces according to the manufacturer’s guidance.
| CPR Dummy Type | Typical Training Use | Distinguishing Features | Common Feedback or Practice Options | Best Suited For |
|---|---|---|---|---|
| Adult CPR manikin | Adult CPR and basic life support practice | Adult-sized chest and torso; designed for practice of chest compressions and rescue breaths. | Depending on the model, may provide a compression clicker, visible chest rise, or electronic feedback on compression depth and rate. | General first-aid, workplace, community, and healthcare training. |
| Child CPR manikin | CPR practice for a child-sized patient | Smaller body proportions than an adult manikin; supports practice using age-appropriate compression technique. | Some models include compression-depth indicators or connect to feedback devices; features vary by model. | Courses that teach CPR across different age groups. |
| Infant CPR manikin | Infant CPR and infant-specific skills practice | Infant-sized anatomy supports practice of gentle compressions and age-appropriate hand or finger placement. | May include a compression indicator and a visible chest-rise feature for ventilation practice. | Pediatric first-aid and infant CPR training. |
| CPR torso manikin | Basic compression and ventilation practice | Shows the head, chest, and upper torso without full limbs; generally takes less storage space than a full-body manikin. | Feedback can range from a simple compression indicator to electronic performance tracking, depending on the model. | Classrooms and programs that need a practical, space-saving training aid. |
| Full-body CPR manikin | CPR practice with additional patient-handling scenarios | Includes a more complete body form, which can support positioning, movement, and team-response scenarios alongside compressions. | May have basic or electronic CPR feedback; added body parts do not necessarily mean more detailed feedback. | Scenario-based courses and training that includes patient movement or team coordination. |
| Feedback-enabled CPR manikin | Skills practice with immediate performance guidance | Uses built-in sensors or a connected feedback system to assess selected CPR actions; available in adult, child, or infant formats. | Can report measures such as compression rate, depth, recoil, or ventilation performance, depending on the system. | Instructors and learners seeking measurable practice and performance review. |
| Airway-management CPR manikin | CPR combined with airway and ventilation skills practice | May include a configurable airway for practicing ventilation techniques or selected airway adjunct skills; capabilities differ substantially by model. | Some models show chest rise or provide ventilation feedback; advanced airway practice should match the course level and manikin specifications. | Healthcare training where airway or ventilation practice is part of the curriculum. |
Selection note: Choose a manikin that matches the learners’ age-specific training needs, course objectives, required feedback, and available storage. Features vary by model, so check the product specifications before use.
Choosing a CPR dummy starts with the learners and the skills they need to practice.
Adult classes usually need a torso with clear chest landmarks and realistic compression resistance.
Infant or child courses need age-appropriate models because hand placement and compression depth differ.
Fit matters. Check that the dummy matches current course objectives and instructor guidance.
Look closely at feedback features.
A clicker can signal compression depth, while lights or a display may show rate and recoil. These cues help beginners self-correct, but they do not replace instructor observation.
For occasional practice, a simple, sturdy model may be enough. For frequent sessions, consider replaceable airways or lungs and easy-to-clean surfaces.
Check replacement-part availability, setup time, storage space, and floor stability. Maintenance is easy to overlook.
Tips: If possible, test the dummy before buying. Try several compressions, check how quickly it resets, and review its cleaning instructions. A low price may not mean lower overall cost if parts are difficult to replace.